We looked at the artwork of Grant Wood, most famous due to his work "American Gothic". This painting was meant as a tribute to the hardworking American during the time of the depression. We also looked at Wood's landscape paintings which inspired a lesson on these textured landscapes.
Students grades 6th-12th worked on creating a collograph printing plate out of various materials. They began by sketching their landscape onto cardboard. They choose from the various materials available to them...burlap, string, tissue paper, foil, pipe cleaners, rice, etc. They needed to build everything up evenly and with no sharp edges by gluing onto to their base, using their sketch as a guide. They will ink this next week and pull a print revealing a textured landscape.
Students grades 2nd-5th grade worked on creating a textured landscape by first drawing their landscape in Sharpie. Then using various texture plates and warm and cool colors of crayons, they did rubbings in each section of their drawn landscape. Warm colors in front, cool colors in background, and I explained the why of this. This would be a good opportunity to ask your student if they remember why?
I will post pictures this week (camera glitch) but wanted to share what we are doing. Watch for it in the next post.
Sunday, October 30, 2011
Saturday, October 29, 2011
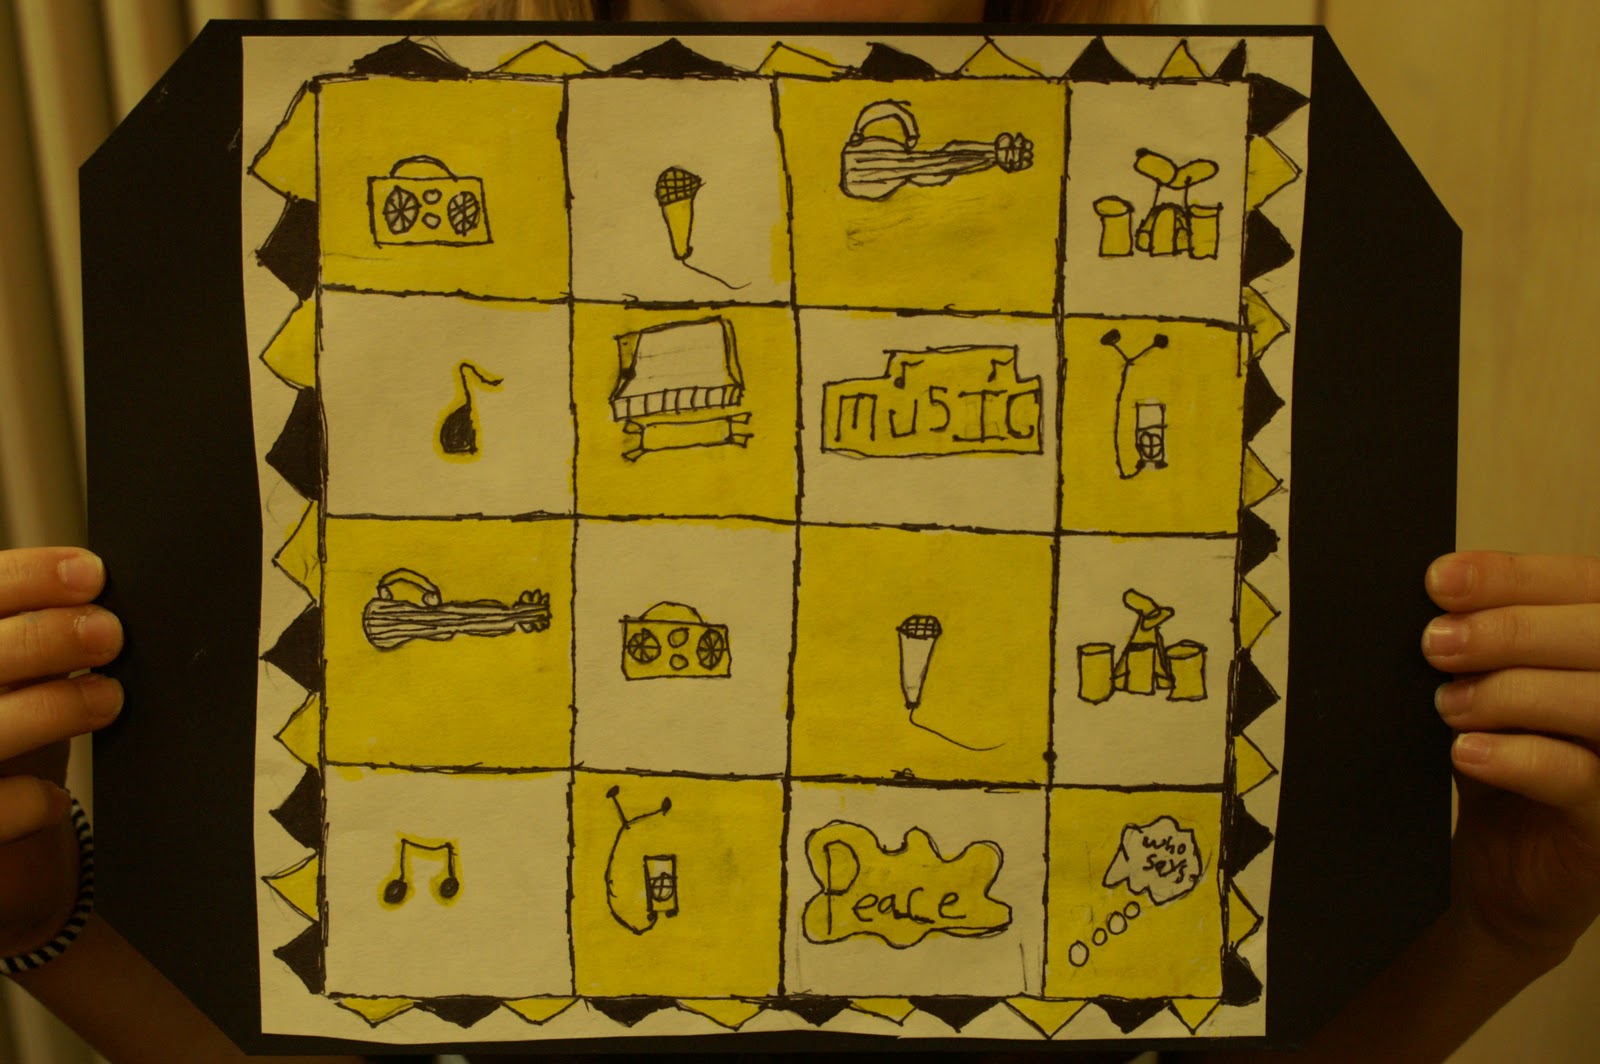
Folk Art 'Quilt' completed


Thursday, October 20, 2011
Folk Art
 |
| Sewing theme |
 |
| Chubby animals! |
 |
| Use of two colors... |
 |
| Love the size of these symbols |
 |
| Christmas and nice job keeping simple shapes! |
We were studying the terms primitive, naive, and folk artists and how these terms are used. All have to do with an untrained artist with their work being very child-like. Their perspective and proportions are usually off as well. We were focusing on Grandma Moses and the amazing story of her success as such a late age in life, her late 70's. Students looked closely at her paintings and observed how much she painted like she stitched her embroidery work with blocks of separate colors. She has such charming work and I love how her paintings tell a story.
We discussed different forms of folk art and how it was often utilitarian in nature, such as weathervanes, decoys, quilts, etc. We are working on a 'quilt' of our own and keeping the shapes simple in the style of folk artists. Students are choosing a theme for their work and had to divide the paper into 16 squares. Each square needs to have an image which took some time to draw. We will be doing a border for these quilts next week and coloring in one or two colors of marker, focusing on alternating negative space and positive space. Fun and cannot wait to see them completed! I did this before with a class and we put them all together to make one big quilt, which is fun if you can leave them hanging on display in a classroom. More images of the complete work next week.
Wednesday, October 5, 2011
Louis Comfort Tiffany


 |
| Begin with your paper and tape it to the table, then tape a clear transparency over it. |
 |
| Students color with permanent marker. They remove it from the table and glue crinkled foil behind it. |
 |
| This student used the smudging of the black sharpie to her advantage by allowing it to blend with her orange marker creating value...love it! |
 |
| Nice touch with the pink markings in the center. Beautiful. |
Frank Lloyd Wright


Subscribe to:
Posts (Atom)